
- This topic has 0 replies, 1 voice, and was last updated 7 years, 8 months ago by Macroscopic Solutions.
-
AuthorPosts
-
June 19, 2018 at 12:07 pm #18814Macroscopic SolutionsKeymaster
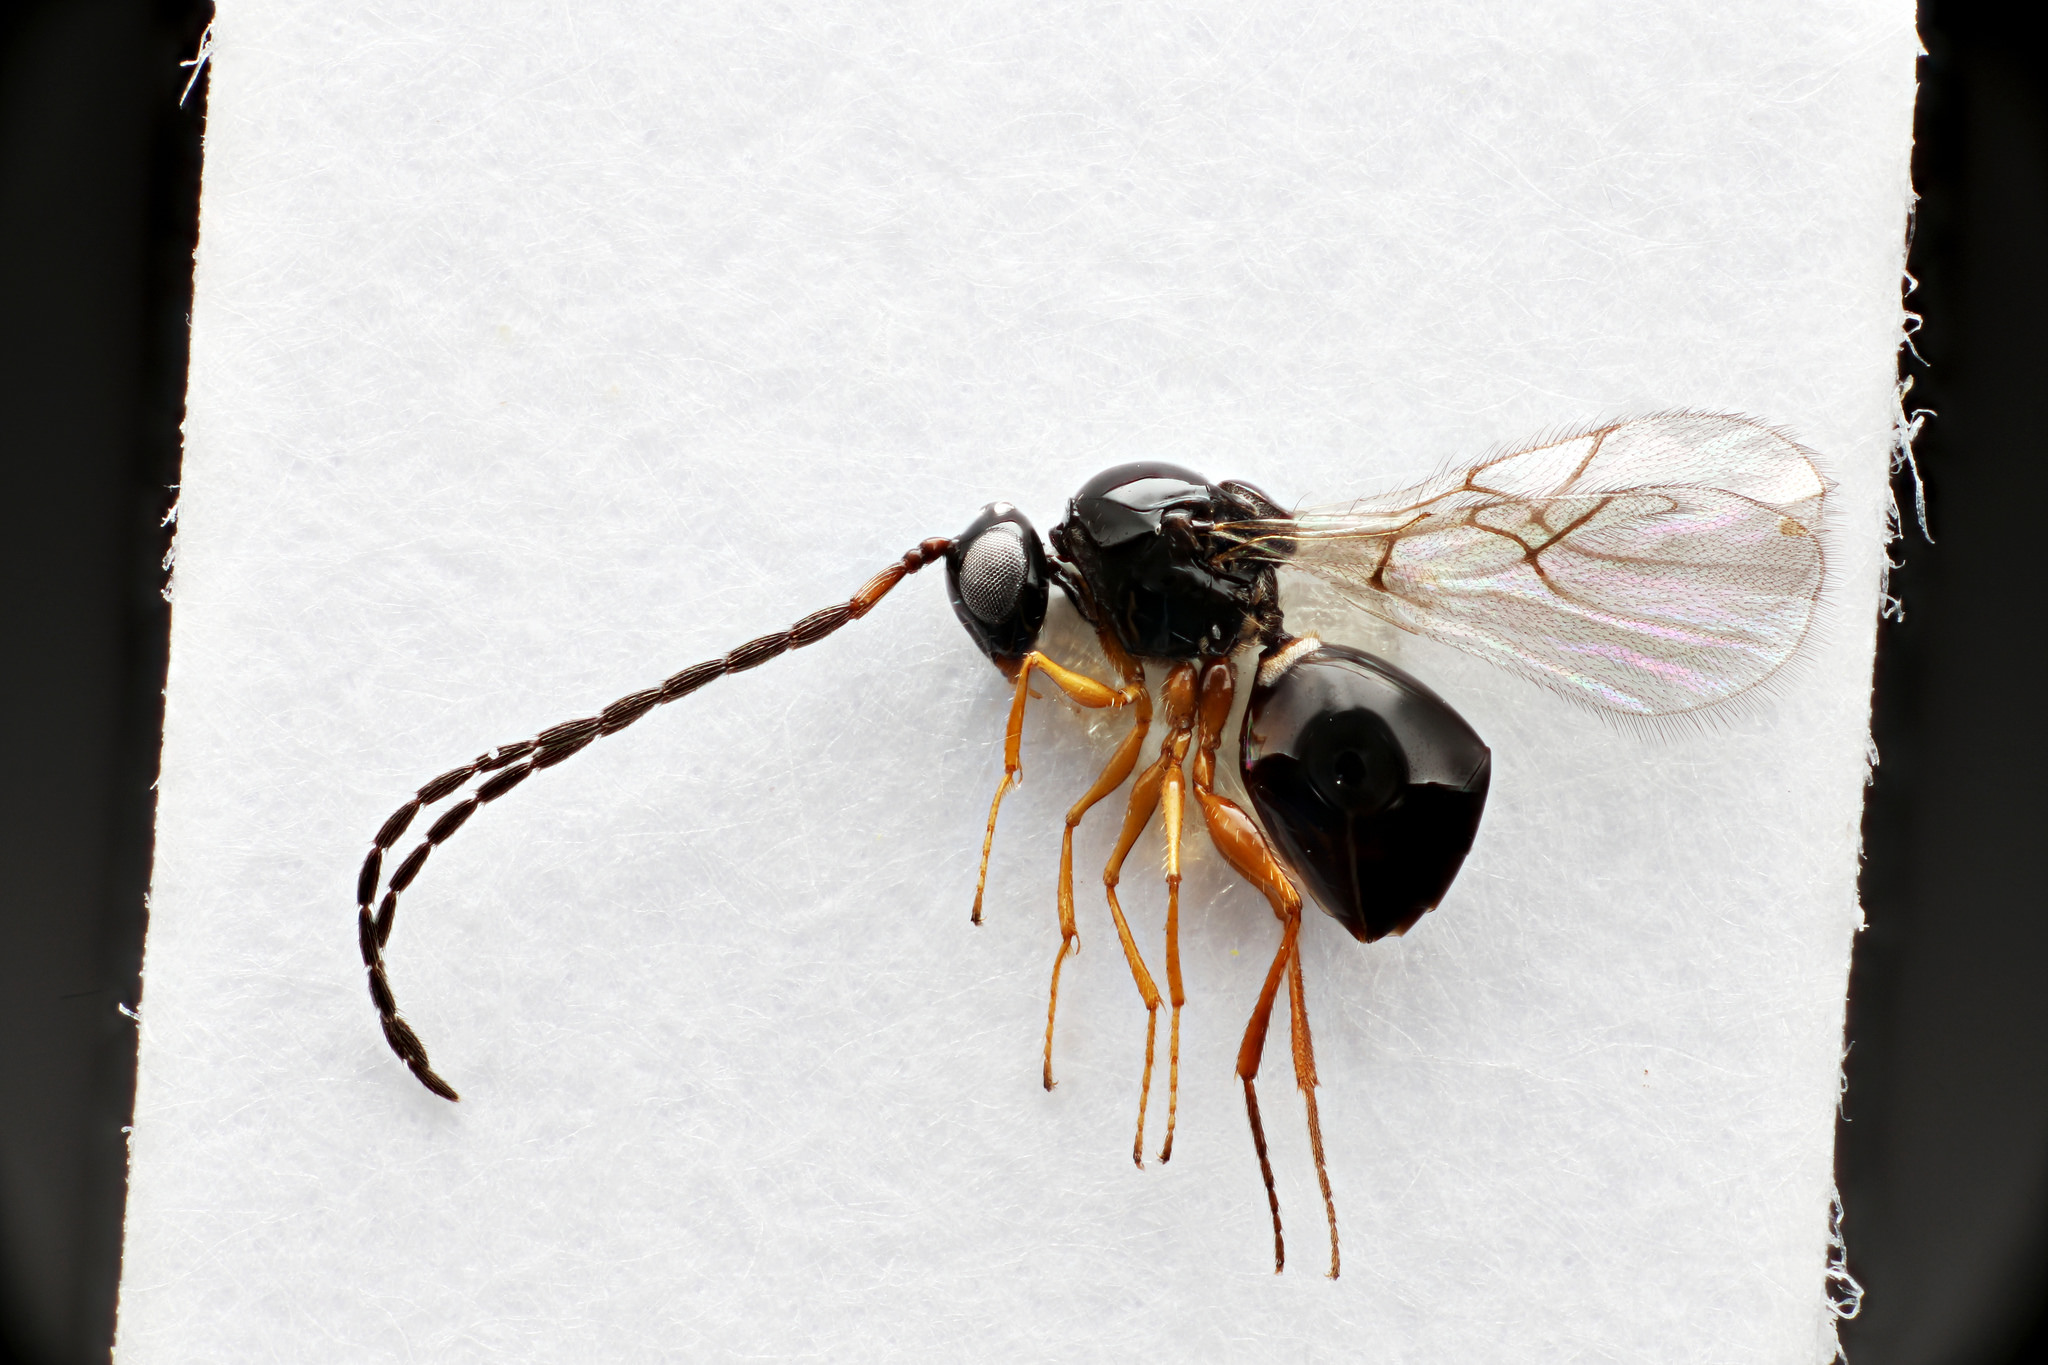
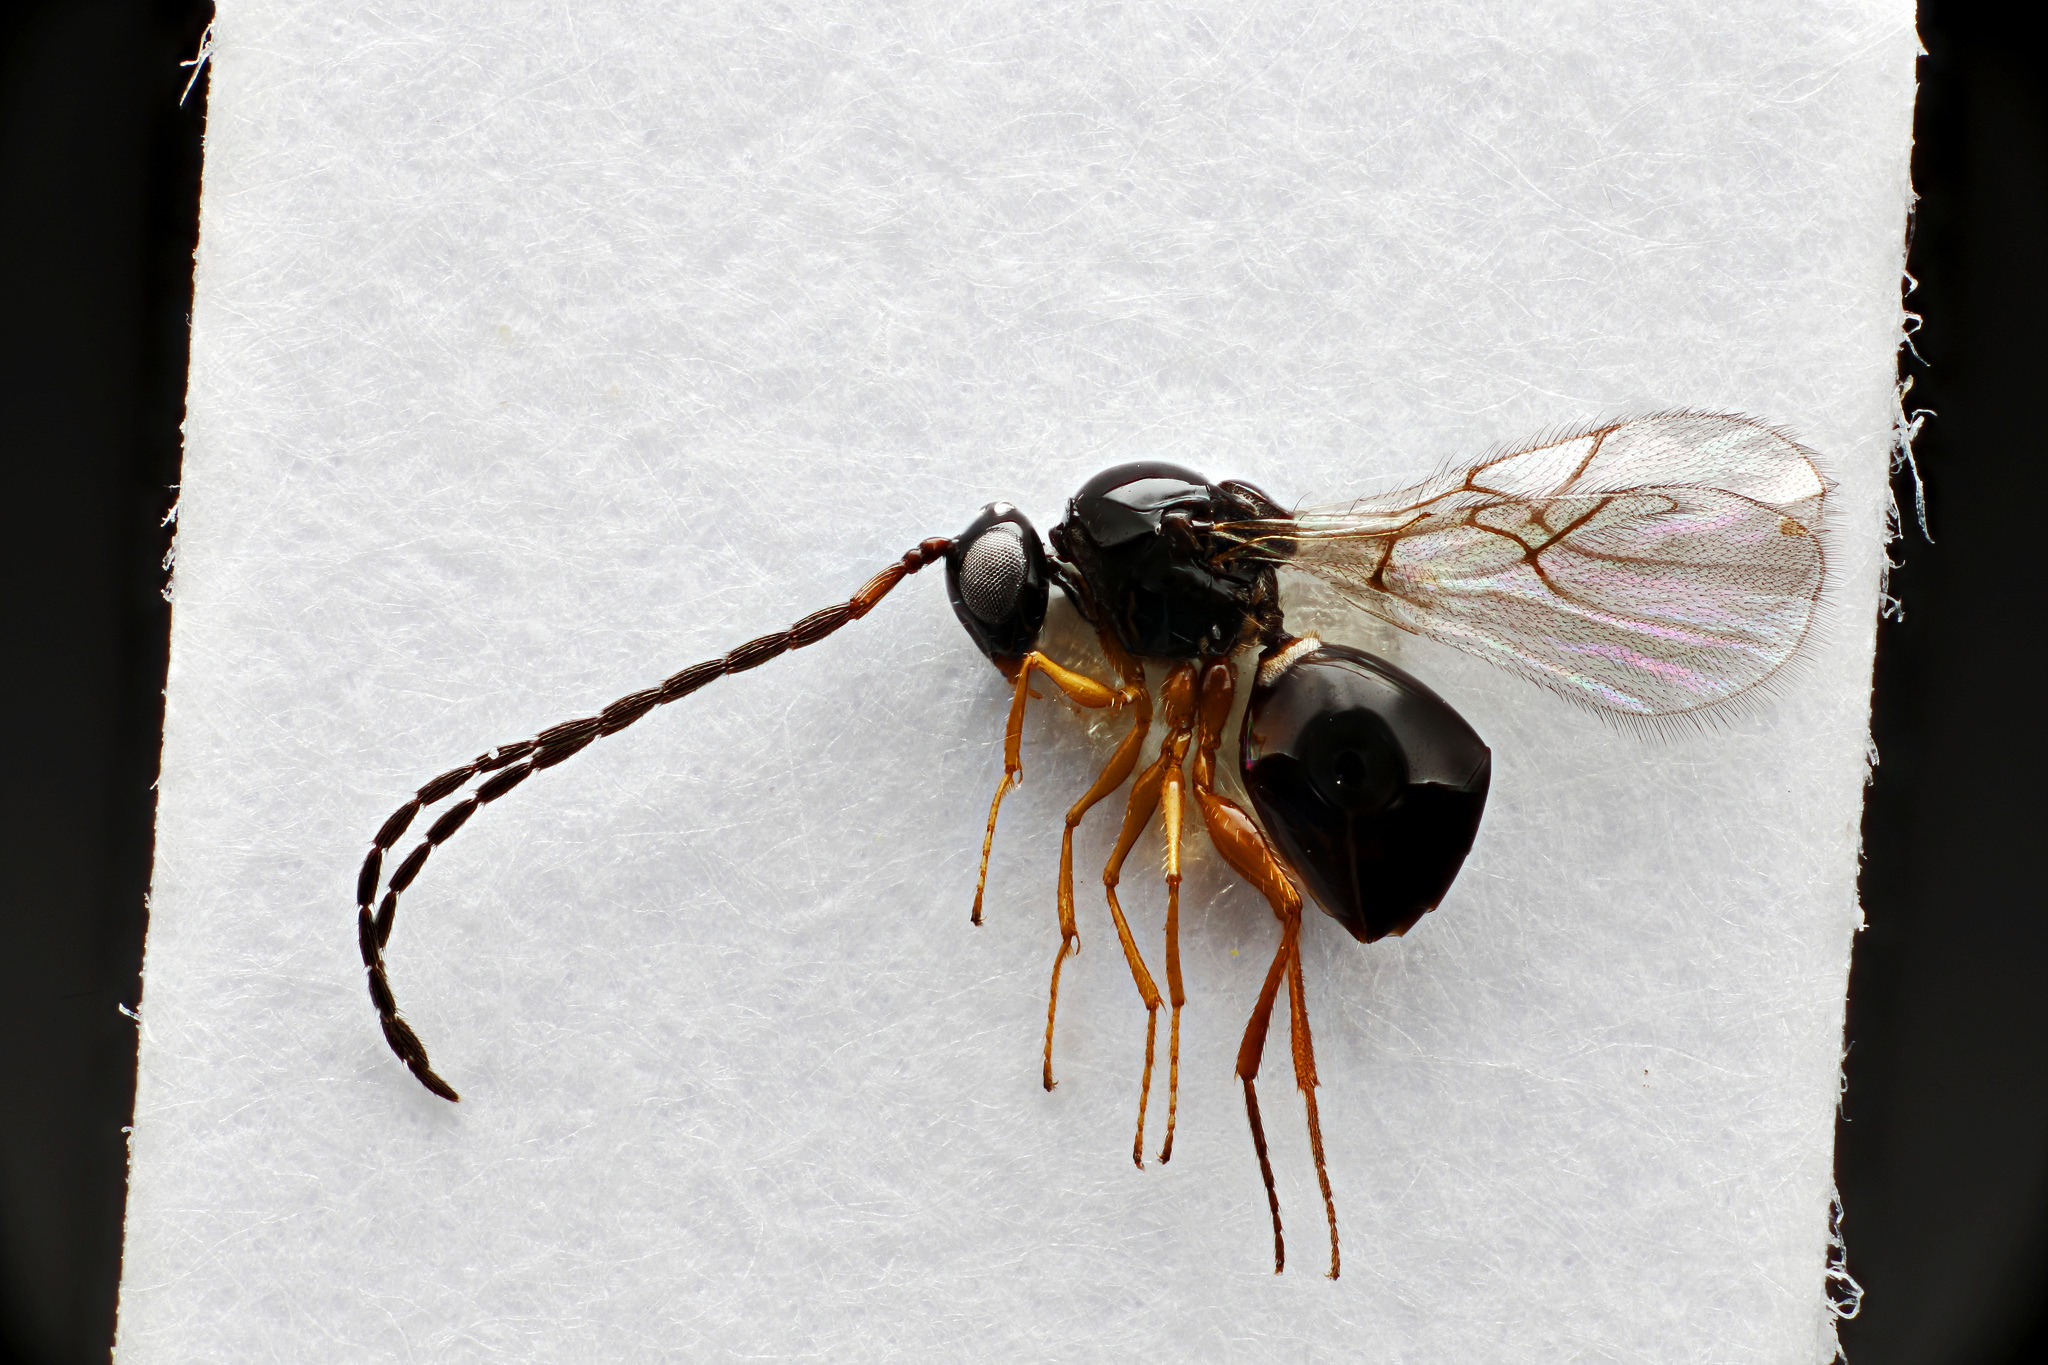
The dreaded donut is a term coined by Dr. Jim Woolley of Texas A&M Entomology. It defines the effect caused by intense light reflecting from the face of a white diffuser. The diffuser is necessary for creating diffuse light, but can generate unwanted glare to reflect off of any glossy subject being photographed.

Images taken at the National Natural History Museum at the Smithsonian Institute. Samples provided by Dr. Lourdes Chamorro and Dr. Matt Buffington.
The image above shows the reflection clearly in the abdomen, thorax and head. Some research professionals such as Dr. Matthew Buffington believe that this reflection is critical for showing the reflective characteristics of the specimen; however, others would prefer to show textural detail of these parts instead of a prominent reflection.
There are four proposed solutions to this problem.
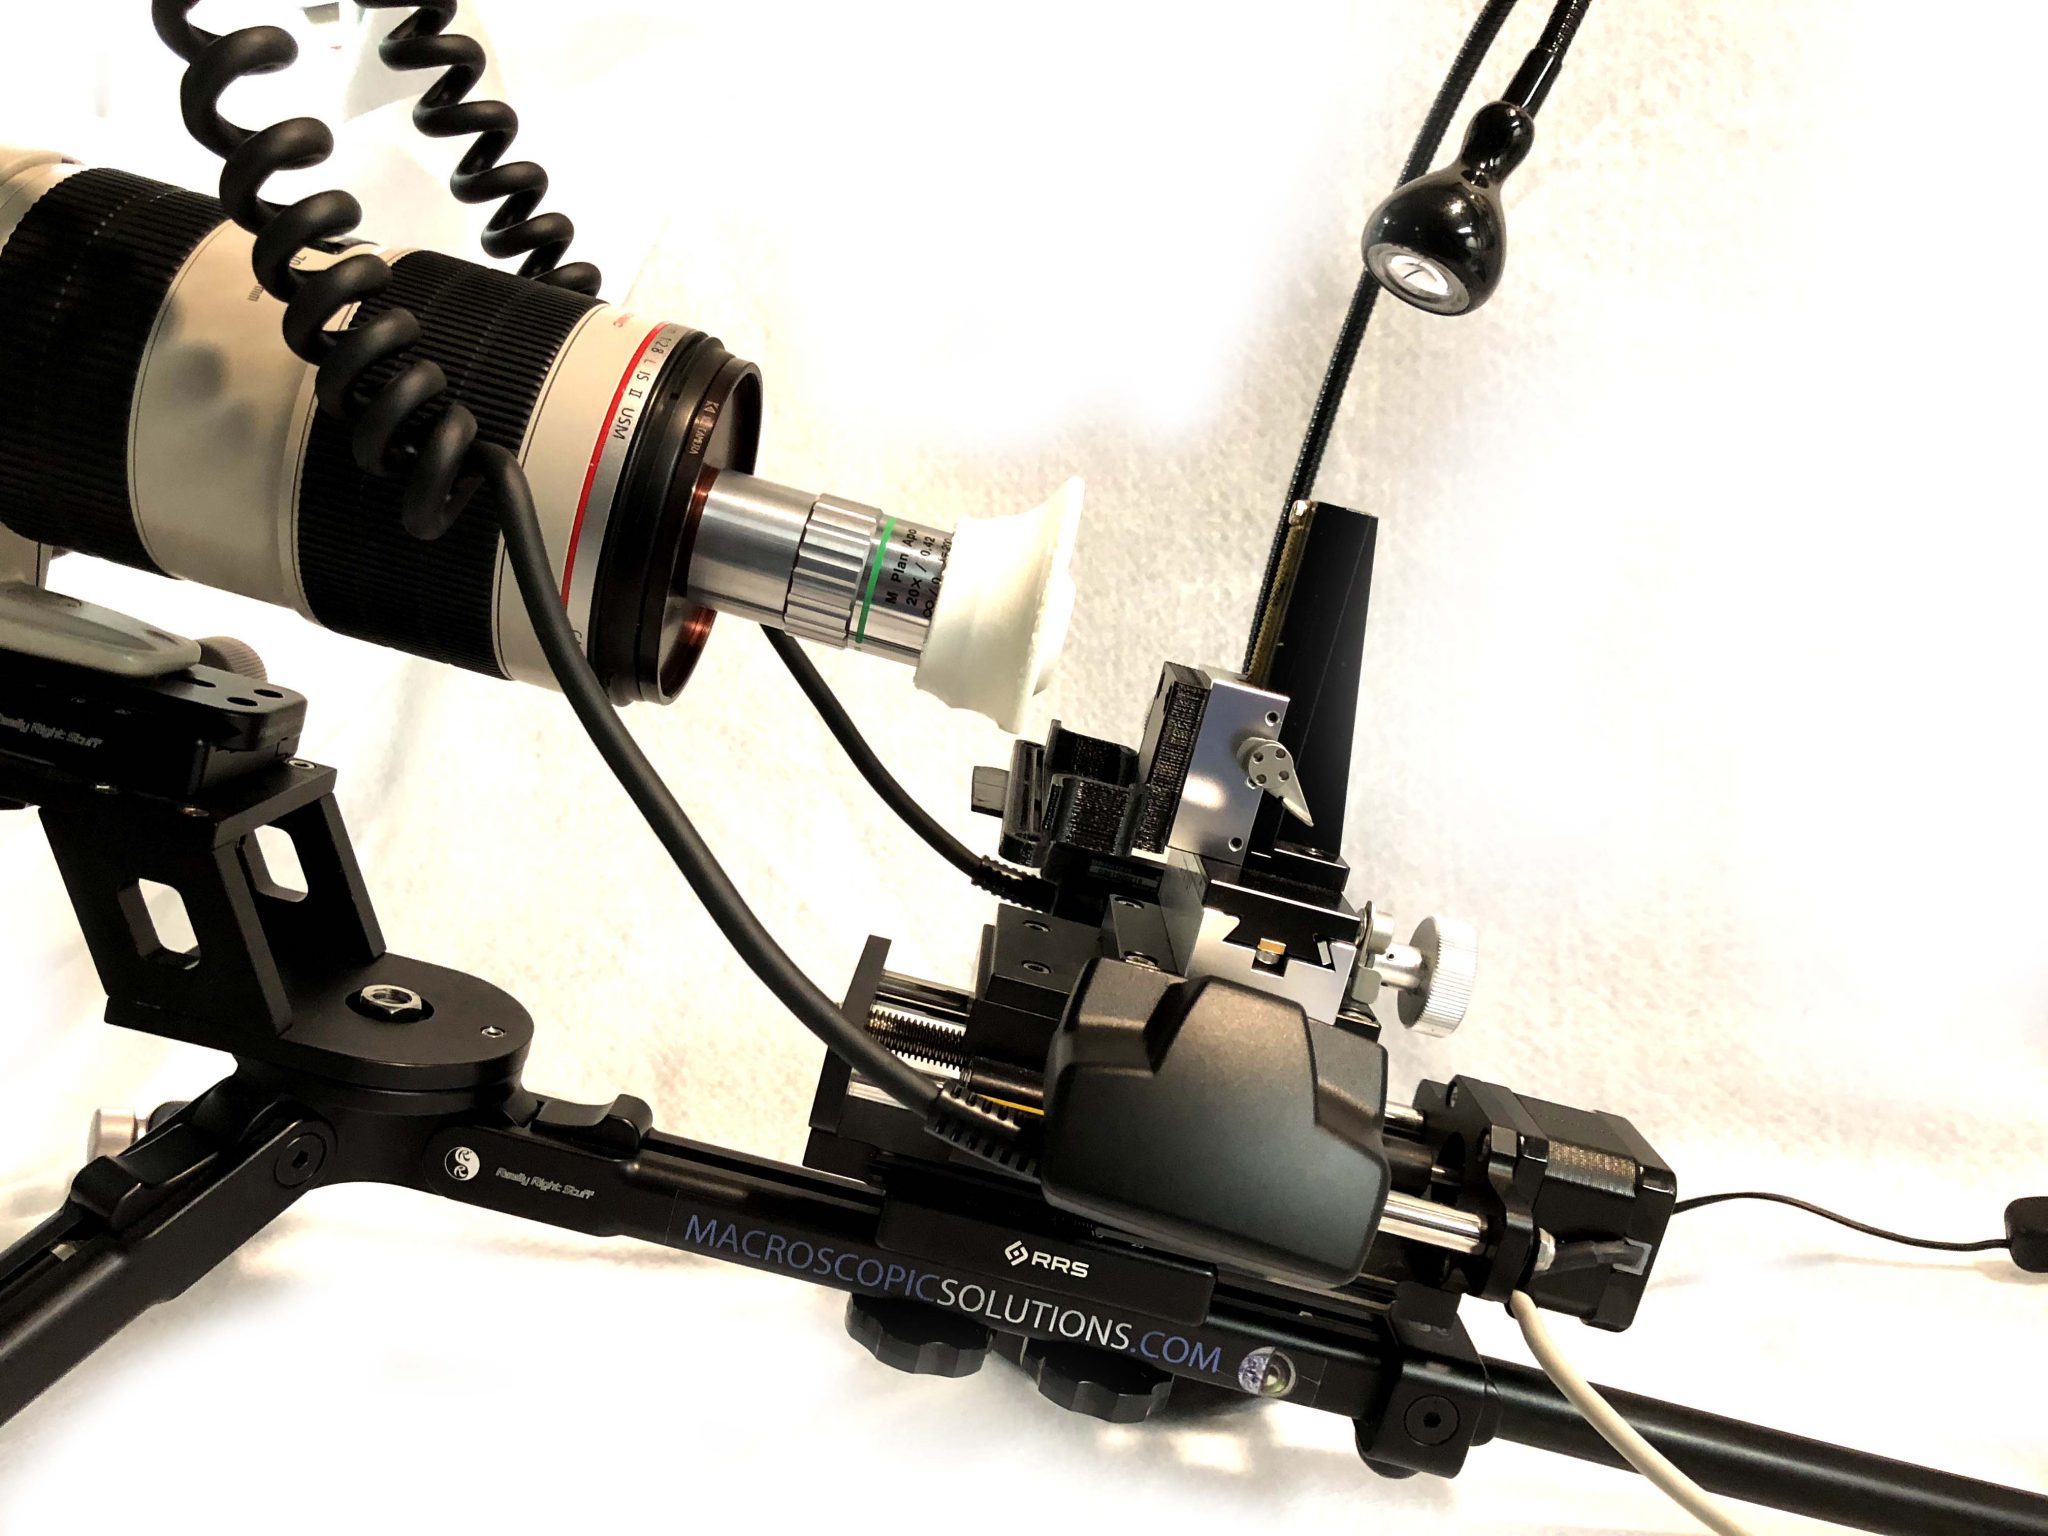
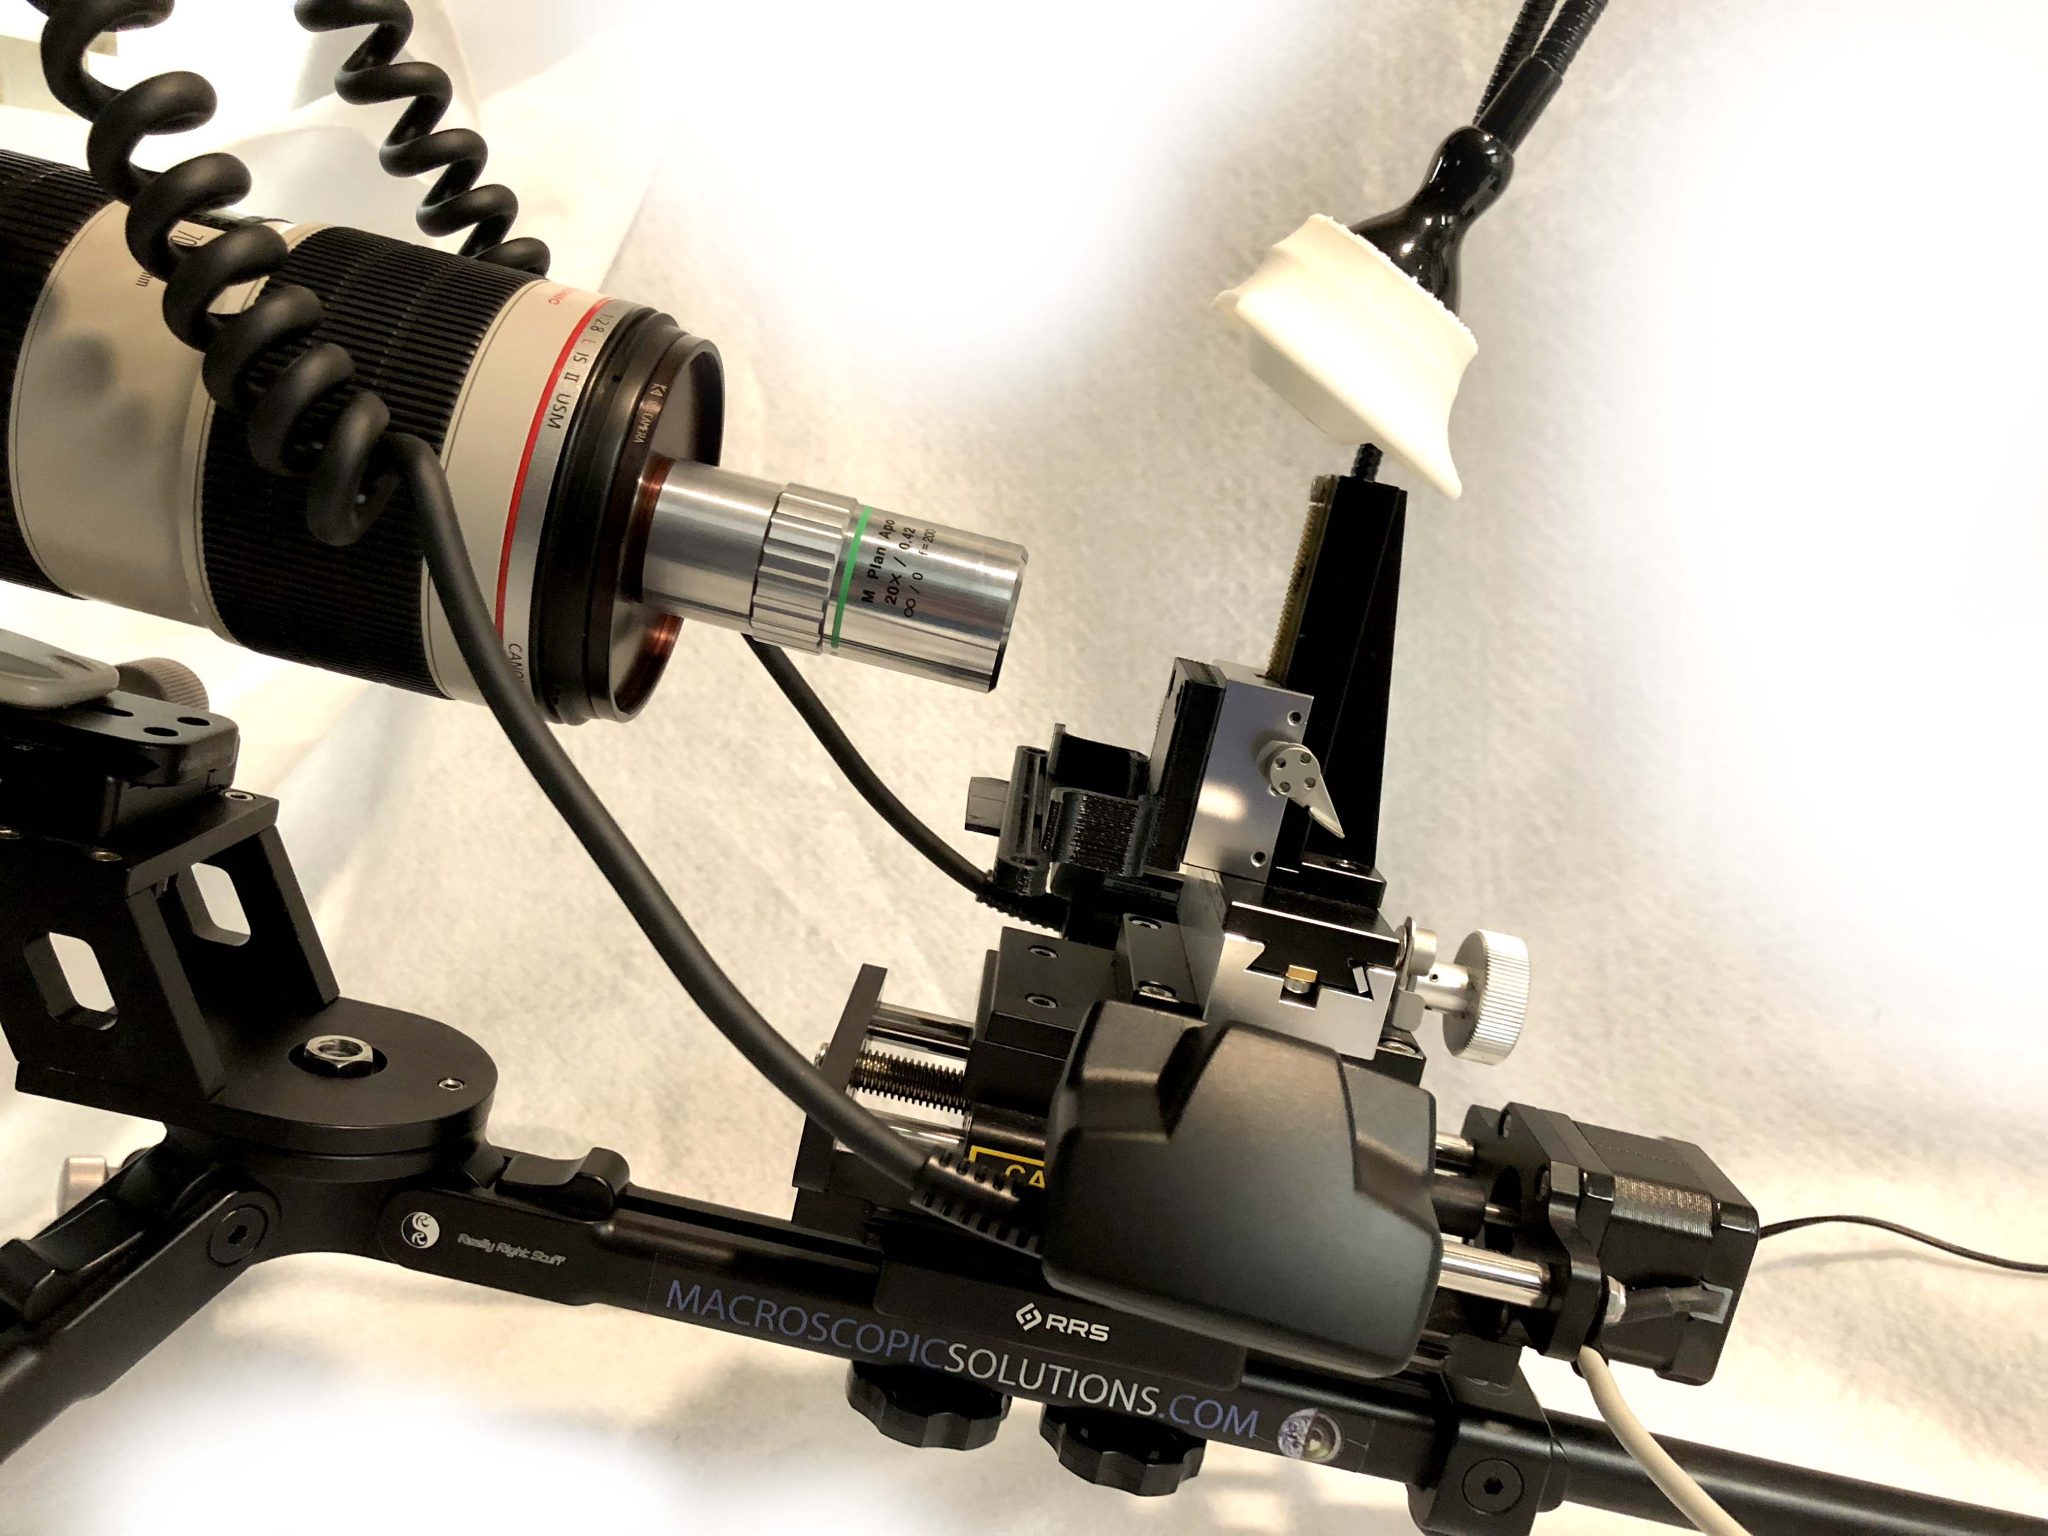
1) The first would be to reconfigure the diffuser so that it sits above or slightly behind the subject. The best way to do this is to utilize the Jansjo light that is becoming increasingly popular among scientists as a suitable replacement to Fiber Optic light boxes. The lights costs less than $20 on Amazon. Important, do not have the light on when capturing a set of images. Instead, use the flash and diffuser only. The light is a great tool for initial positioning of the specimen.
Figure A.
Change from:
Standard Diffusion Configuration
to:
Reflection Reduction Configuration
2) The second solution would be to post process your images in Photoshop. The shadows/highlight section in image > adjustments will allow you to effectively minimize glare and accentuate detail. For instance, the image shared above was edited using the following steps.
Step 1. Check “show more options”
Step 2. Move Shadows to 0%
Step 3. Move Highlights to 14%
Step 4. Move Highlights “Radius” to 2500px
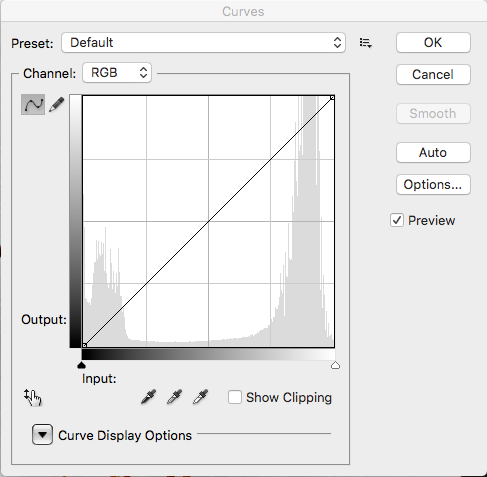
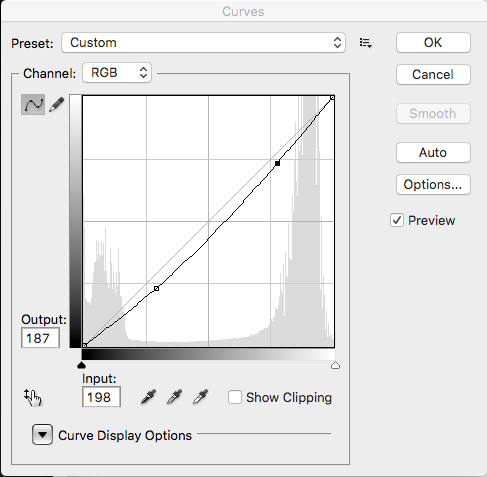
Step 5. Move “Midtone Contrast” to +30Lastly, use curves to further remove reflection by changing the following.
Figure B.
Change from:
Default
To:
Adjusted
Result:
Photoshop Edit
3) The last suggestion would be to increase the magnification. The added magnification is by far and away the most effective method of displaying detail as shown bu the following figure. The more magnification, the more detail you can resolve. You can see the “dreaded donut” is seen prominently on 20x, but becomes further and further out of view towards 50 and 100x.
Figure C.
10, 20, 50 and 100x objective viewpoints of shiny Tiger Beetle
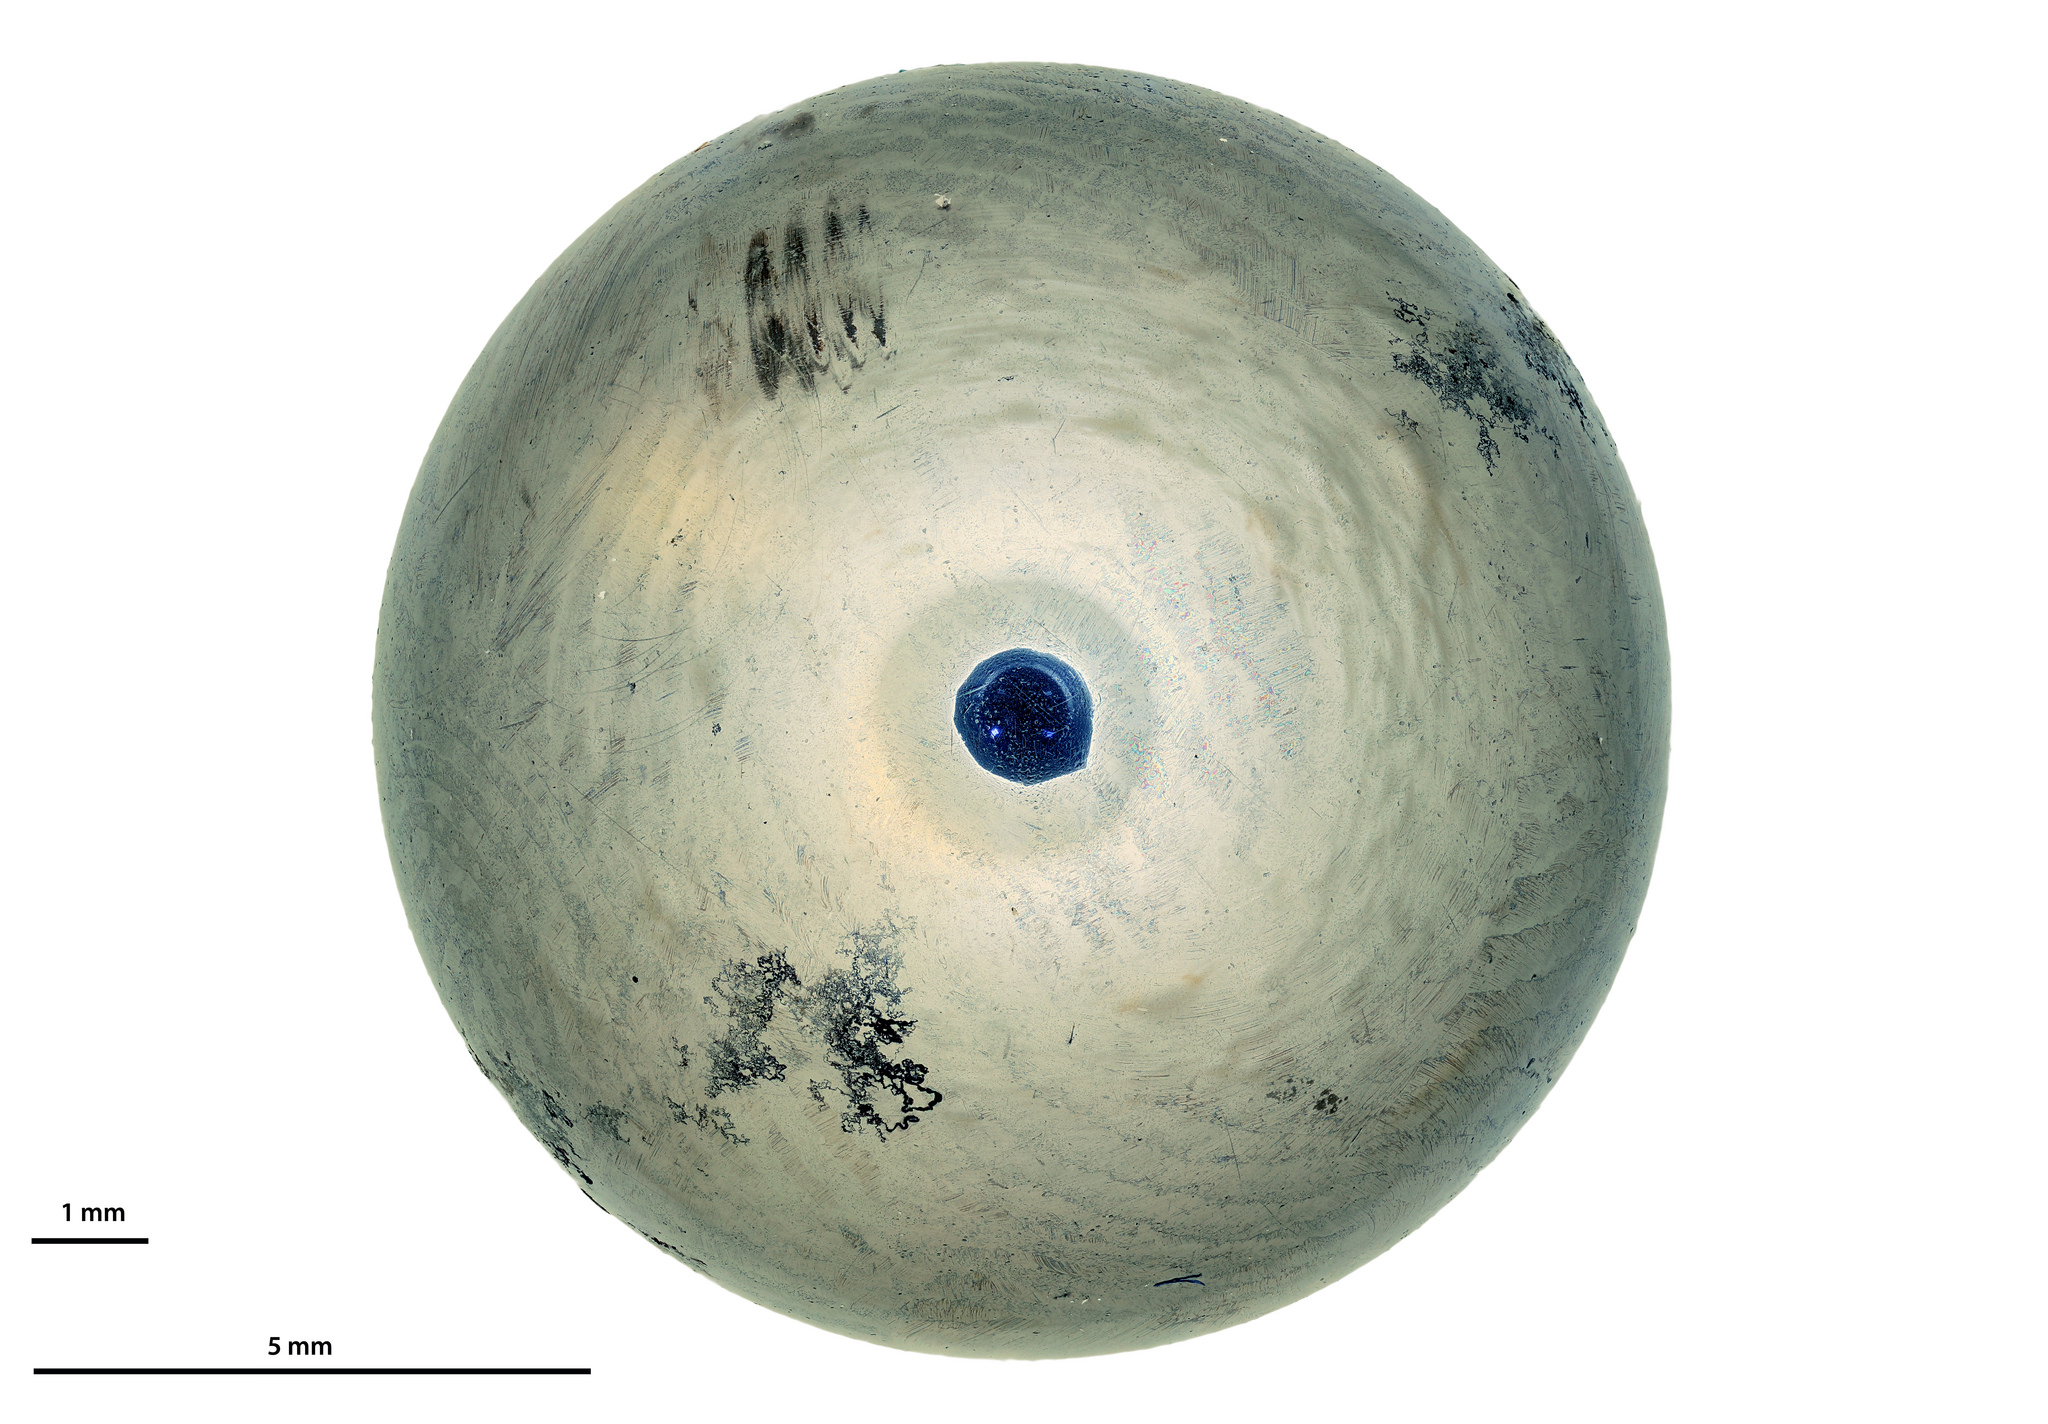
4) The last solution would be to fully immerse your subject into something white. Leaving only a small opening large enough to resolve the subject you are looking at. This ball bearing was focus stacked inside a white cylindrical container leaving only the top exposed. It reflects prominently; however, to show exterior detail only>
Figure D.
Ball Bearing shows compete cylindrical diffusion and reflects only the glass omn the objective at the very center. This is the best way to achieve a high level of textural information >95%.
- This topic was modified 7 years, 8 months ago by Macroscopic Solutions.
- This topic was modified 7 years, 8 months ago by Macroscopic Solutions.
- This topic was modified 7 years, 8 months ago by Macroscopic Solutions.
- This topic was modified 7 years, 8 months ago by Macroscopic Solutions.
- This topic was modified 7 years, 8 months ago by Macroscopic Solutions.
- This topic was modified 2 years, 1 month ago by Macroscopic Solutions.
-
AuthorPosts

- You must be logged in to reply to this topic.